Enrollment is necessary once after admission to the university in order to establish student legal status. In this case accepted students must fill in and submit enrollment request via the Neptun educational system, in which they check, modify and complete their data and make the necessary statements in order to start their studies. The student status is established through the acceptance of this request. Registration is the process that must be repeated in the beginning of every semester, in which a statement has to be made on the activation or passivation of the semester.
The enrollment form and the declaration window on the status (active/passive) of the current semester can be accessed from the Administration / Term Registration menu. In this menu both the current and previous semester registration periods will be displayed, but the Register button will only be active under the current semester.
You can only enroll and register during the enrollment and registration period specified in your faculty’s academic calendar! If the Register button does not appear, this may be due to other administrative reasons, in which case you should contact the Registrar’s Office/Study Department of your faculty.
For newly admitted students (freshmen), the Register button will appear under the current semester, while for upperclassmen, the Enroll button will. In both cases, the next step is to declare the status of the current semester. The statuses that appear in the pop-ups have a registration condition attached (for example, for self-financed students, 40% payment of the tuition fee is a condition of registration for the active semester).
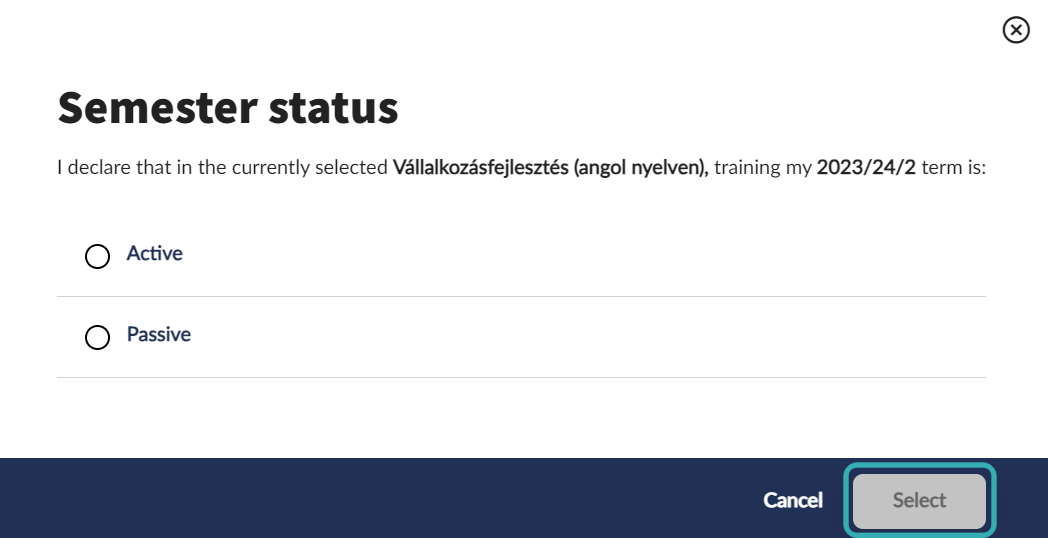
After clicking the Select button, if the student does not meet any criteria of the registration, the program will return an error message explaining the reason for the unsuccessful registration. If the registration is successful, the current semester will be created with the selected status. No further action is required for registration (for upperclassmen), while for the enrollment process (for freshmen) the enrollment request will open and can be filled in.
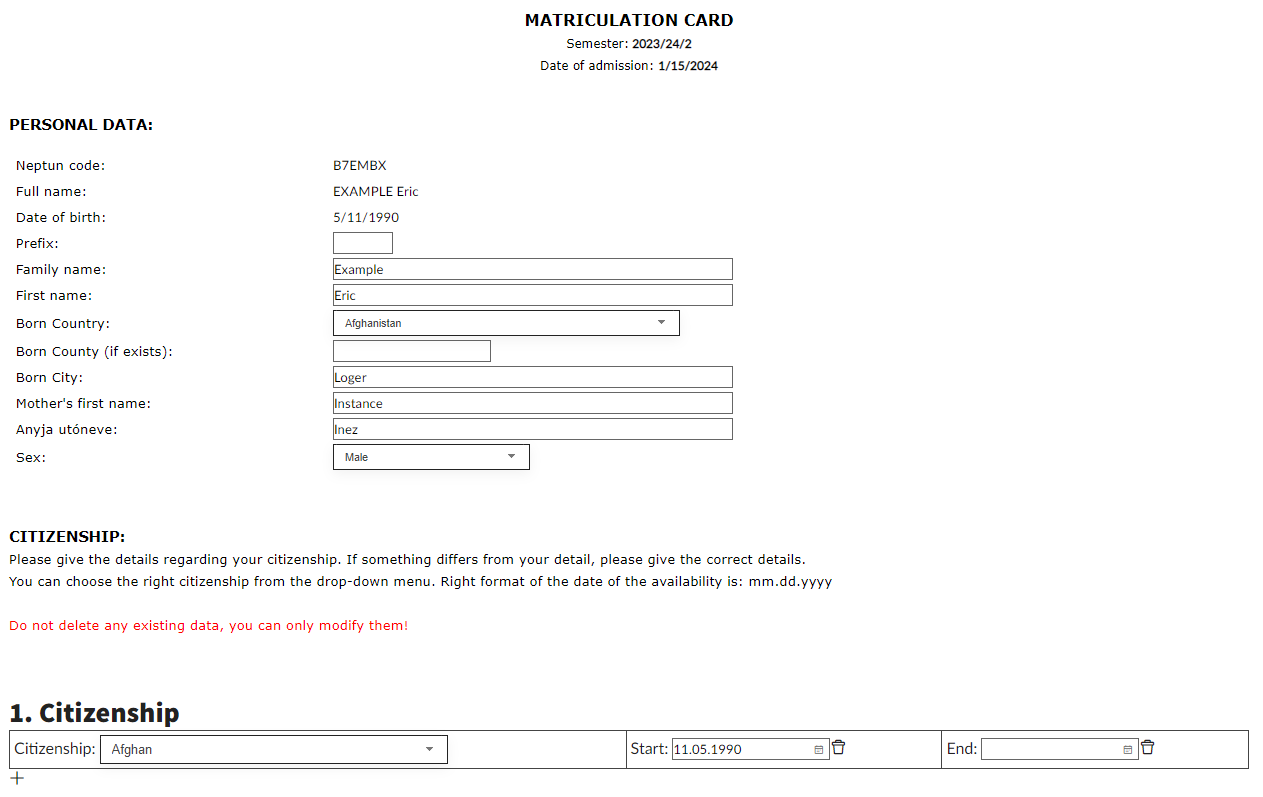
The enrollment request contains the student's details as they exist and are already registered in the educational system at the time of enrollment. Key data fields:
personal data
nationality data
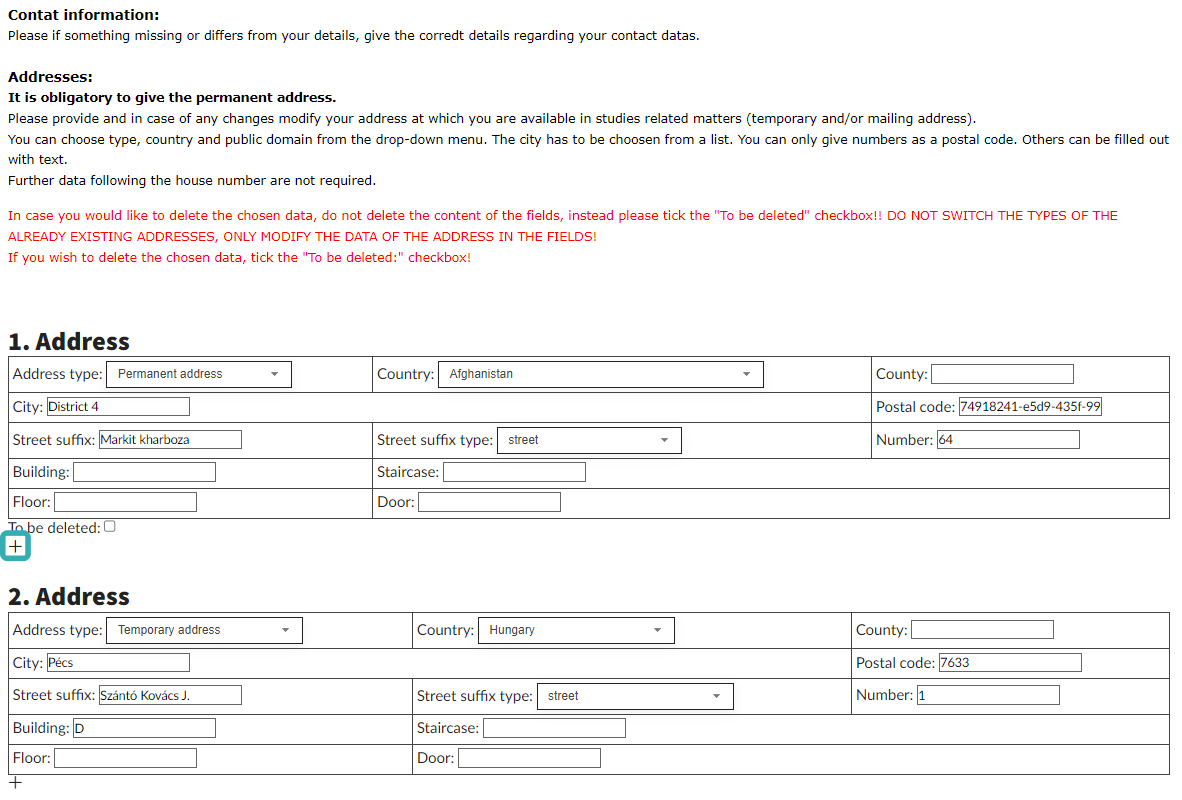
contact details (address, e-mail, phone number)
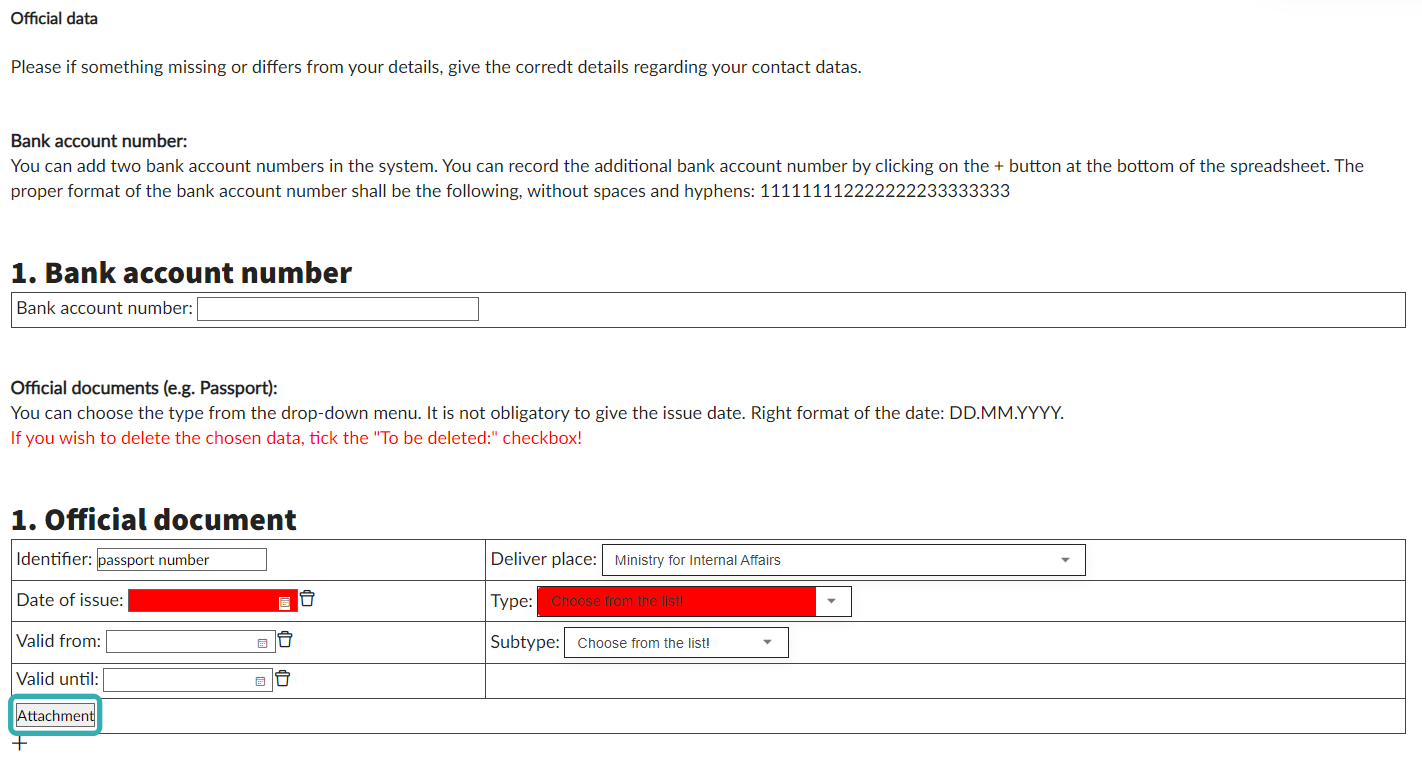
official data (bank account number, documents)
educational background (secondary school, bachelor’s degree, etc.)
education details (not editable by the student)
financing and other declarations

Based on the type of required data, the form consists of several sections, on pages. You can move between pages using the Previous Page and Next Page buttons at the top of the fill-in screen. To suspend the completion of the application, click the X button in the top left corner.
For each section the information to be included is displayed either in a text field, a drop-down list, or a bound-format field. Descriptions and warnings related to the bound formats can be found above each field. The content displayed in the text field can be modified if it is blank or incorrect. For drop-down lists, an option can be selected from a predefined set. Examples of fields with a bound format are the date field, where only the specified format (22.02.2000) can be entered. These fields can be filled in, but if the format is incorrect, the submission of the enrolment form will fail, and an error message will be displayed when the student clicks the Next page/Submit button.
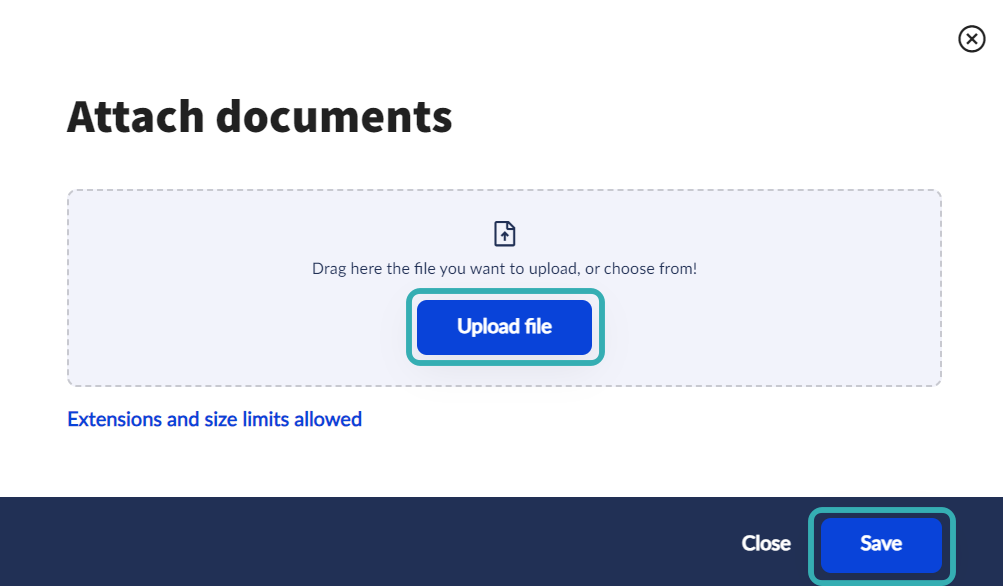
For some data fields it is possible or, where applicable, mandatory to attach a document corresponding to the data field. You can attach a document by clicking on the Attachment button under the table displayed. Unfilled mandatory fields will be highlighted in red after clicking the Next page/Submit button.
In case of data fields with tables, it is possible to add new fields. For example, if you wish to provide a second address (if you have a temporary address in Hungary already, you should provide it!) you can do so by clicking the + button under the table displayed.
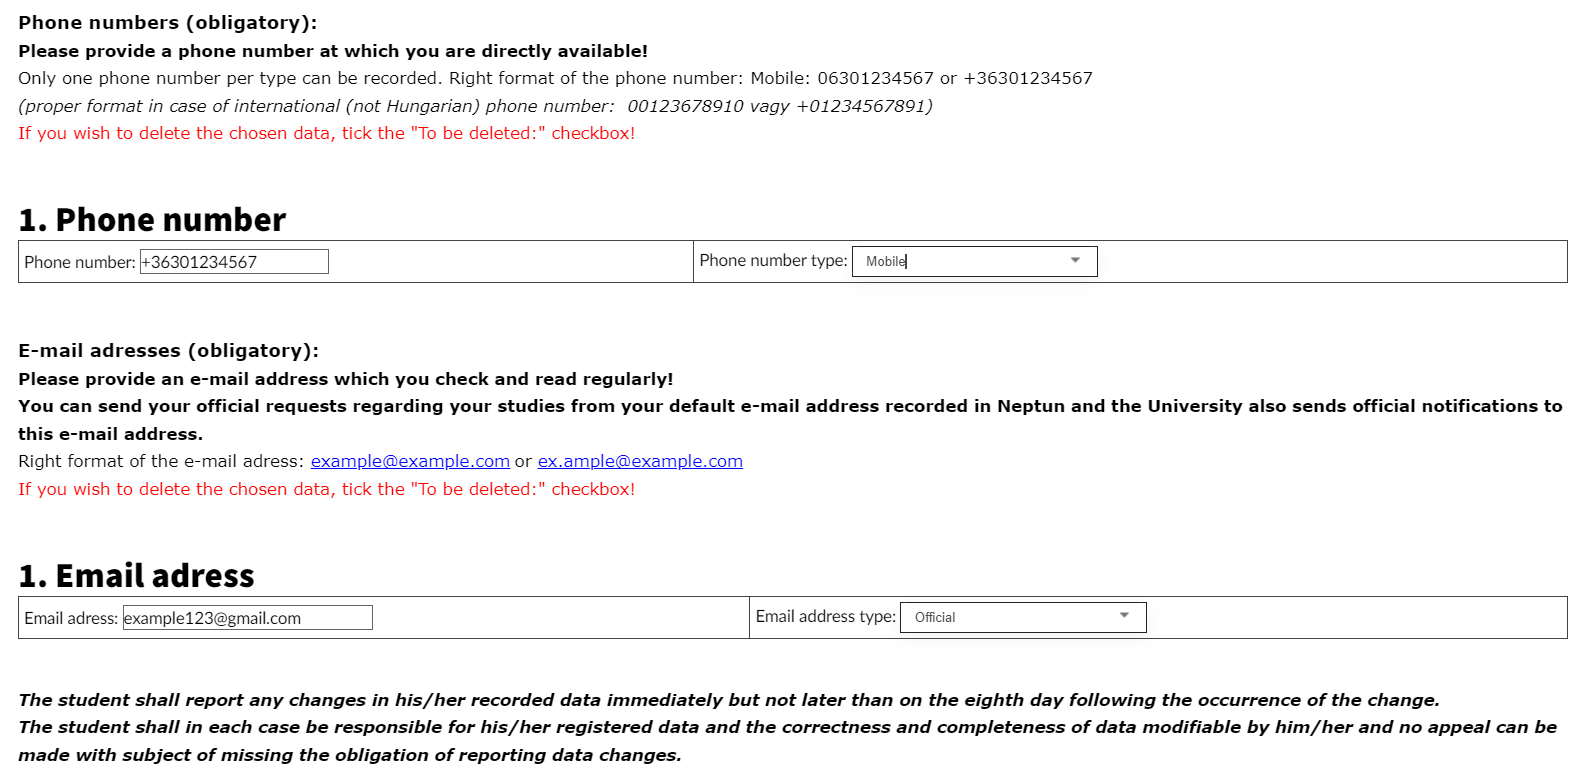
It is recommended that you provide both a Hungarian phone number and an official email address to facilitate university administration. A valid phone number is required to reset a forgotten password or locked account. You can add a new phone number after enrollment as well. You shall write any study-related message from your official registered e-mail address. You can also add additional email addresses later.
After providing your data, you will be required to accept a few declarations, depending on the form of financing of your training. These declarations include the declaration of accepting the training and fee payment agreement, the declaration of accepting the requirements of the Stipendium Hungaricum Operational Regulations or the declaration of data management and consent.
While the enrollment form is being filled in, the program detects idle time, during which a 20-minute countdown is run. This is the time available for submitting the enrolment form, so it is recommended that the necessary documents to be attached are saved in advance in pdf or jpg format on the student’s computer, and that the student is prepared with the enrolment documents and personal data to speed up the completion. Examples of such documents are identity documents, documents proving previous qualifications: school leaving certificate, higher education diploma, etc.
After the last page of the enrollment form, the information provided can be checked in one page on the preview page before submitting the application. From here, it is still possible to go back to the previous pages to correct any incorrect data.

You can submit the enrolment form by clicking on the Submit a request button at the top right. Once all the necessary information has been provided and the required documents have been uploaded, you can submit the enrolment form. After submitting the application, a feedback message will inform you that the application has been successfully submitted and what the identification number of the application is. The feedback message will also inform you that "An application form has been generated for the request, which is available on the Submitted requests interface."
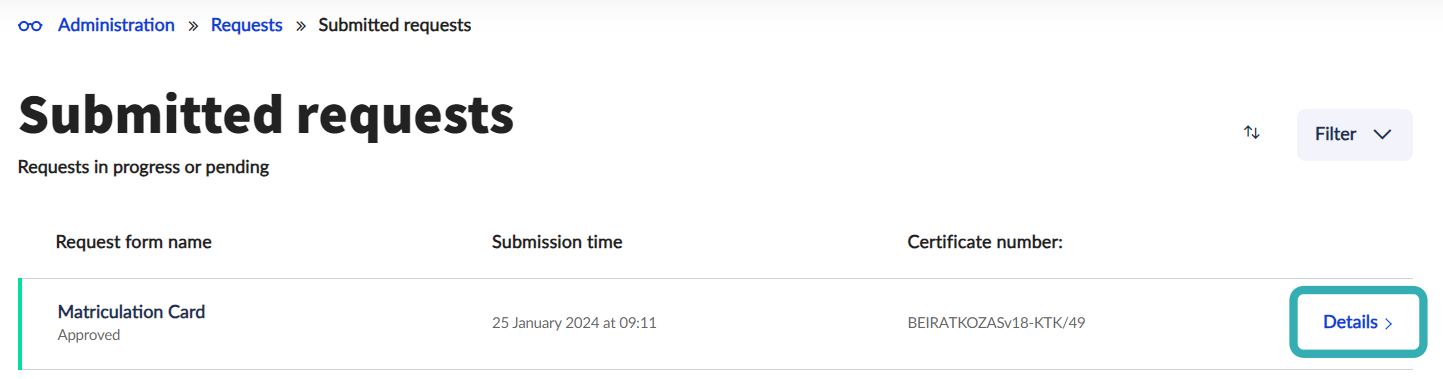
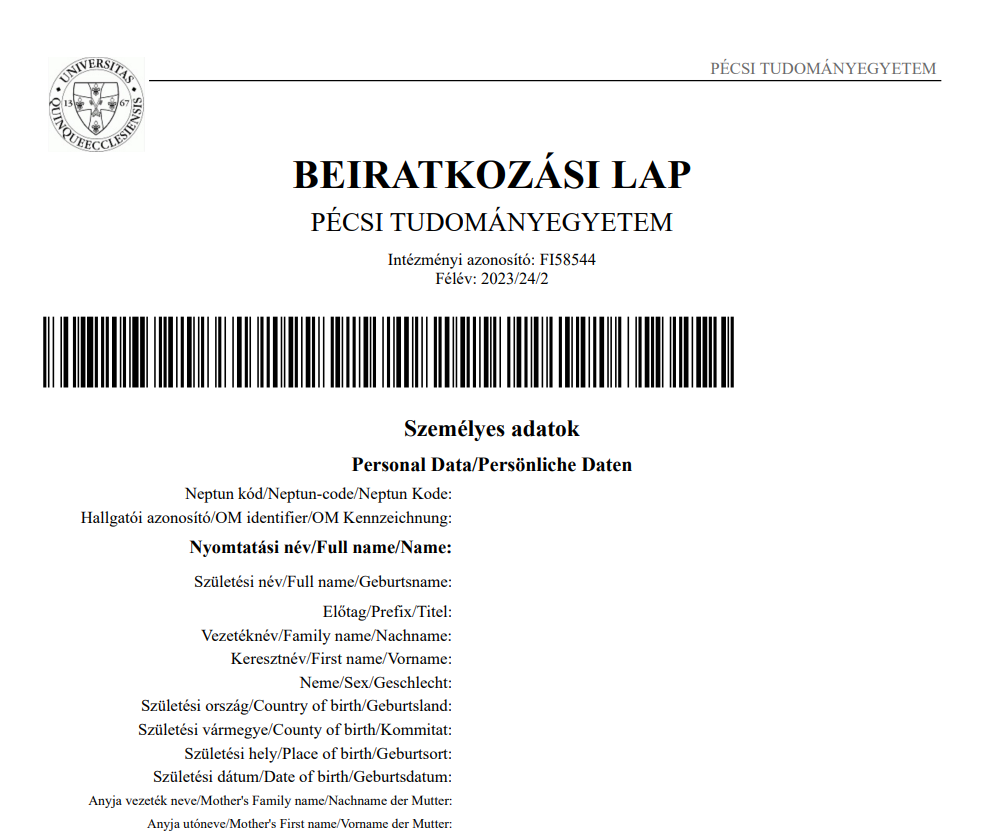
The submitted form generates the Matriculation card. Print it, sign it and submit it to the Registrar’s Office/Study Department of your faculty. You can find the Matriculation card in the Administration / Requests menu. Select the Cast option to see your submitter requests.

By clicking on the Details button, you can download the application form itself and the Matriculation card generated from it.
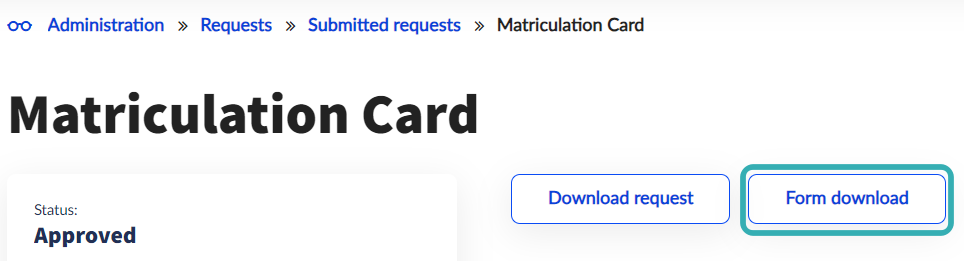
It is important that you print the Matriculation card, which has a barcode at the top and not the request.
The Registrar’s Office/Study Department only accepts the barcoded document, with the student’s original signature and if the information on it is correct, as stated in the application and the documents attached to the application.
If the enrollment form is not completed successfully, it may be interrupted and the application may be resumed or restarted.
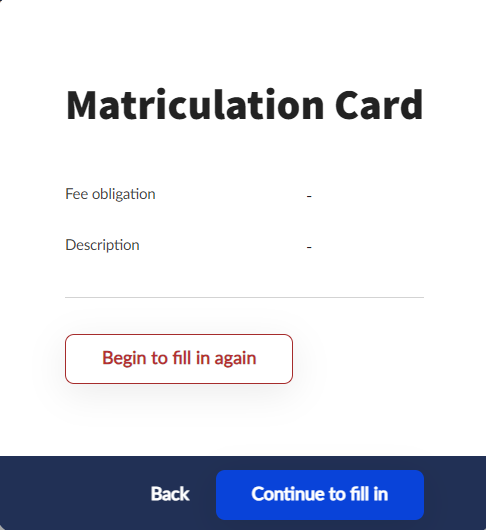
If you select Begin to fill in again all previously saved fields or documents attached to the application will be lost.
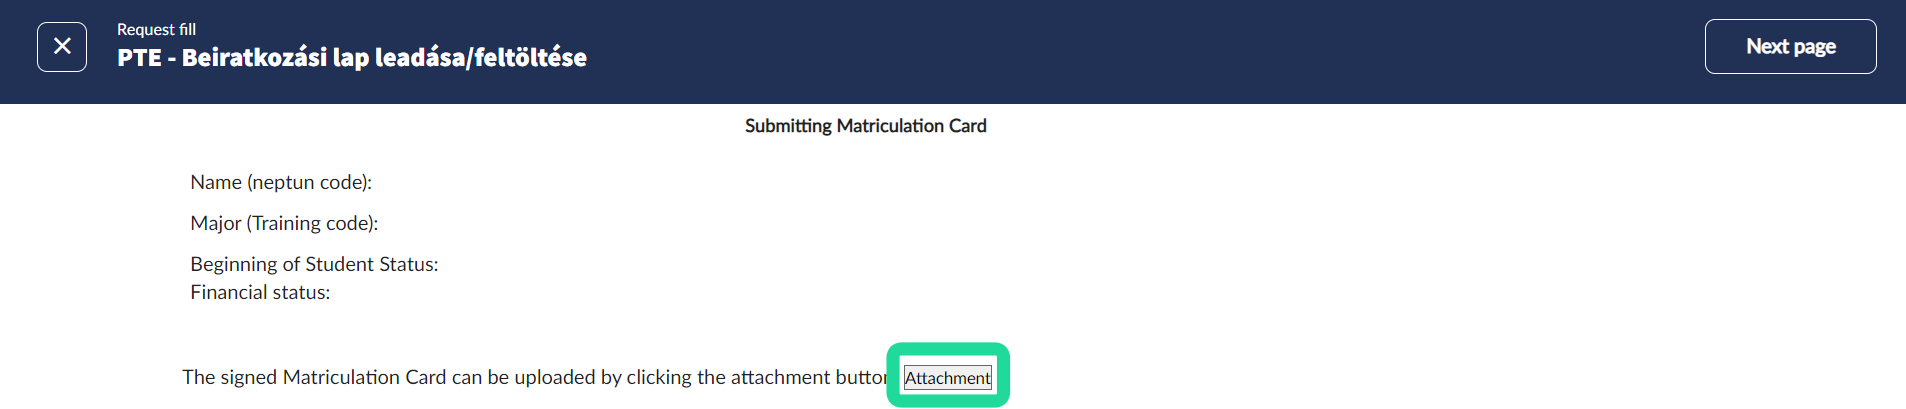
Signing and submitting the matriculation card
The matriculation card can be signed as a hard copy by printing it out and signing by hand, or electronically via AVDH identification:
User guide for AVDH authentication
Matriculation cards signed via AVDH identification can also be submitted electronically in the Administration / Requests / Available requests menu as an attachment to the PTE - Submitting matriculation card request.